Sewing a Bag for Bread, Fruits or Vegetables
1 Overview
Content
Disposable products cause a lot of problems. Every time we reach for a plastic bag for fruit and vegetables in the supermarket, we indirectly consume a lot of resources and energy. Even worse are the paper bags in the bakery. The small bags are only used for a very, very short time: from the store to home, and then into the garbage bin.
But- yay! - it doesn't have to be that way. There are wonderful reusable alternatives, and we can even make them ourselves.
And because there are also a lot of environmental problems in fabric, we take old textiles that are no longer needed - then there is no need to produce extra fabric for us.
In this course we show you how to sew a bag for bread, fruit or vegetables in just a few steps.
Previous knowledge
You don't need any previous knowledge for this course.
Duration
To sew a bag you need about 1 hour.
2 Preparation
To sew your own bag, you will need the following material:
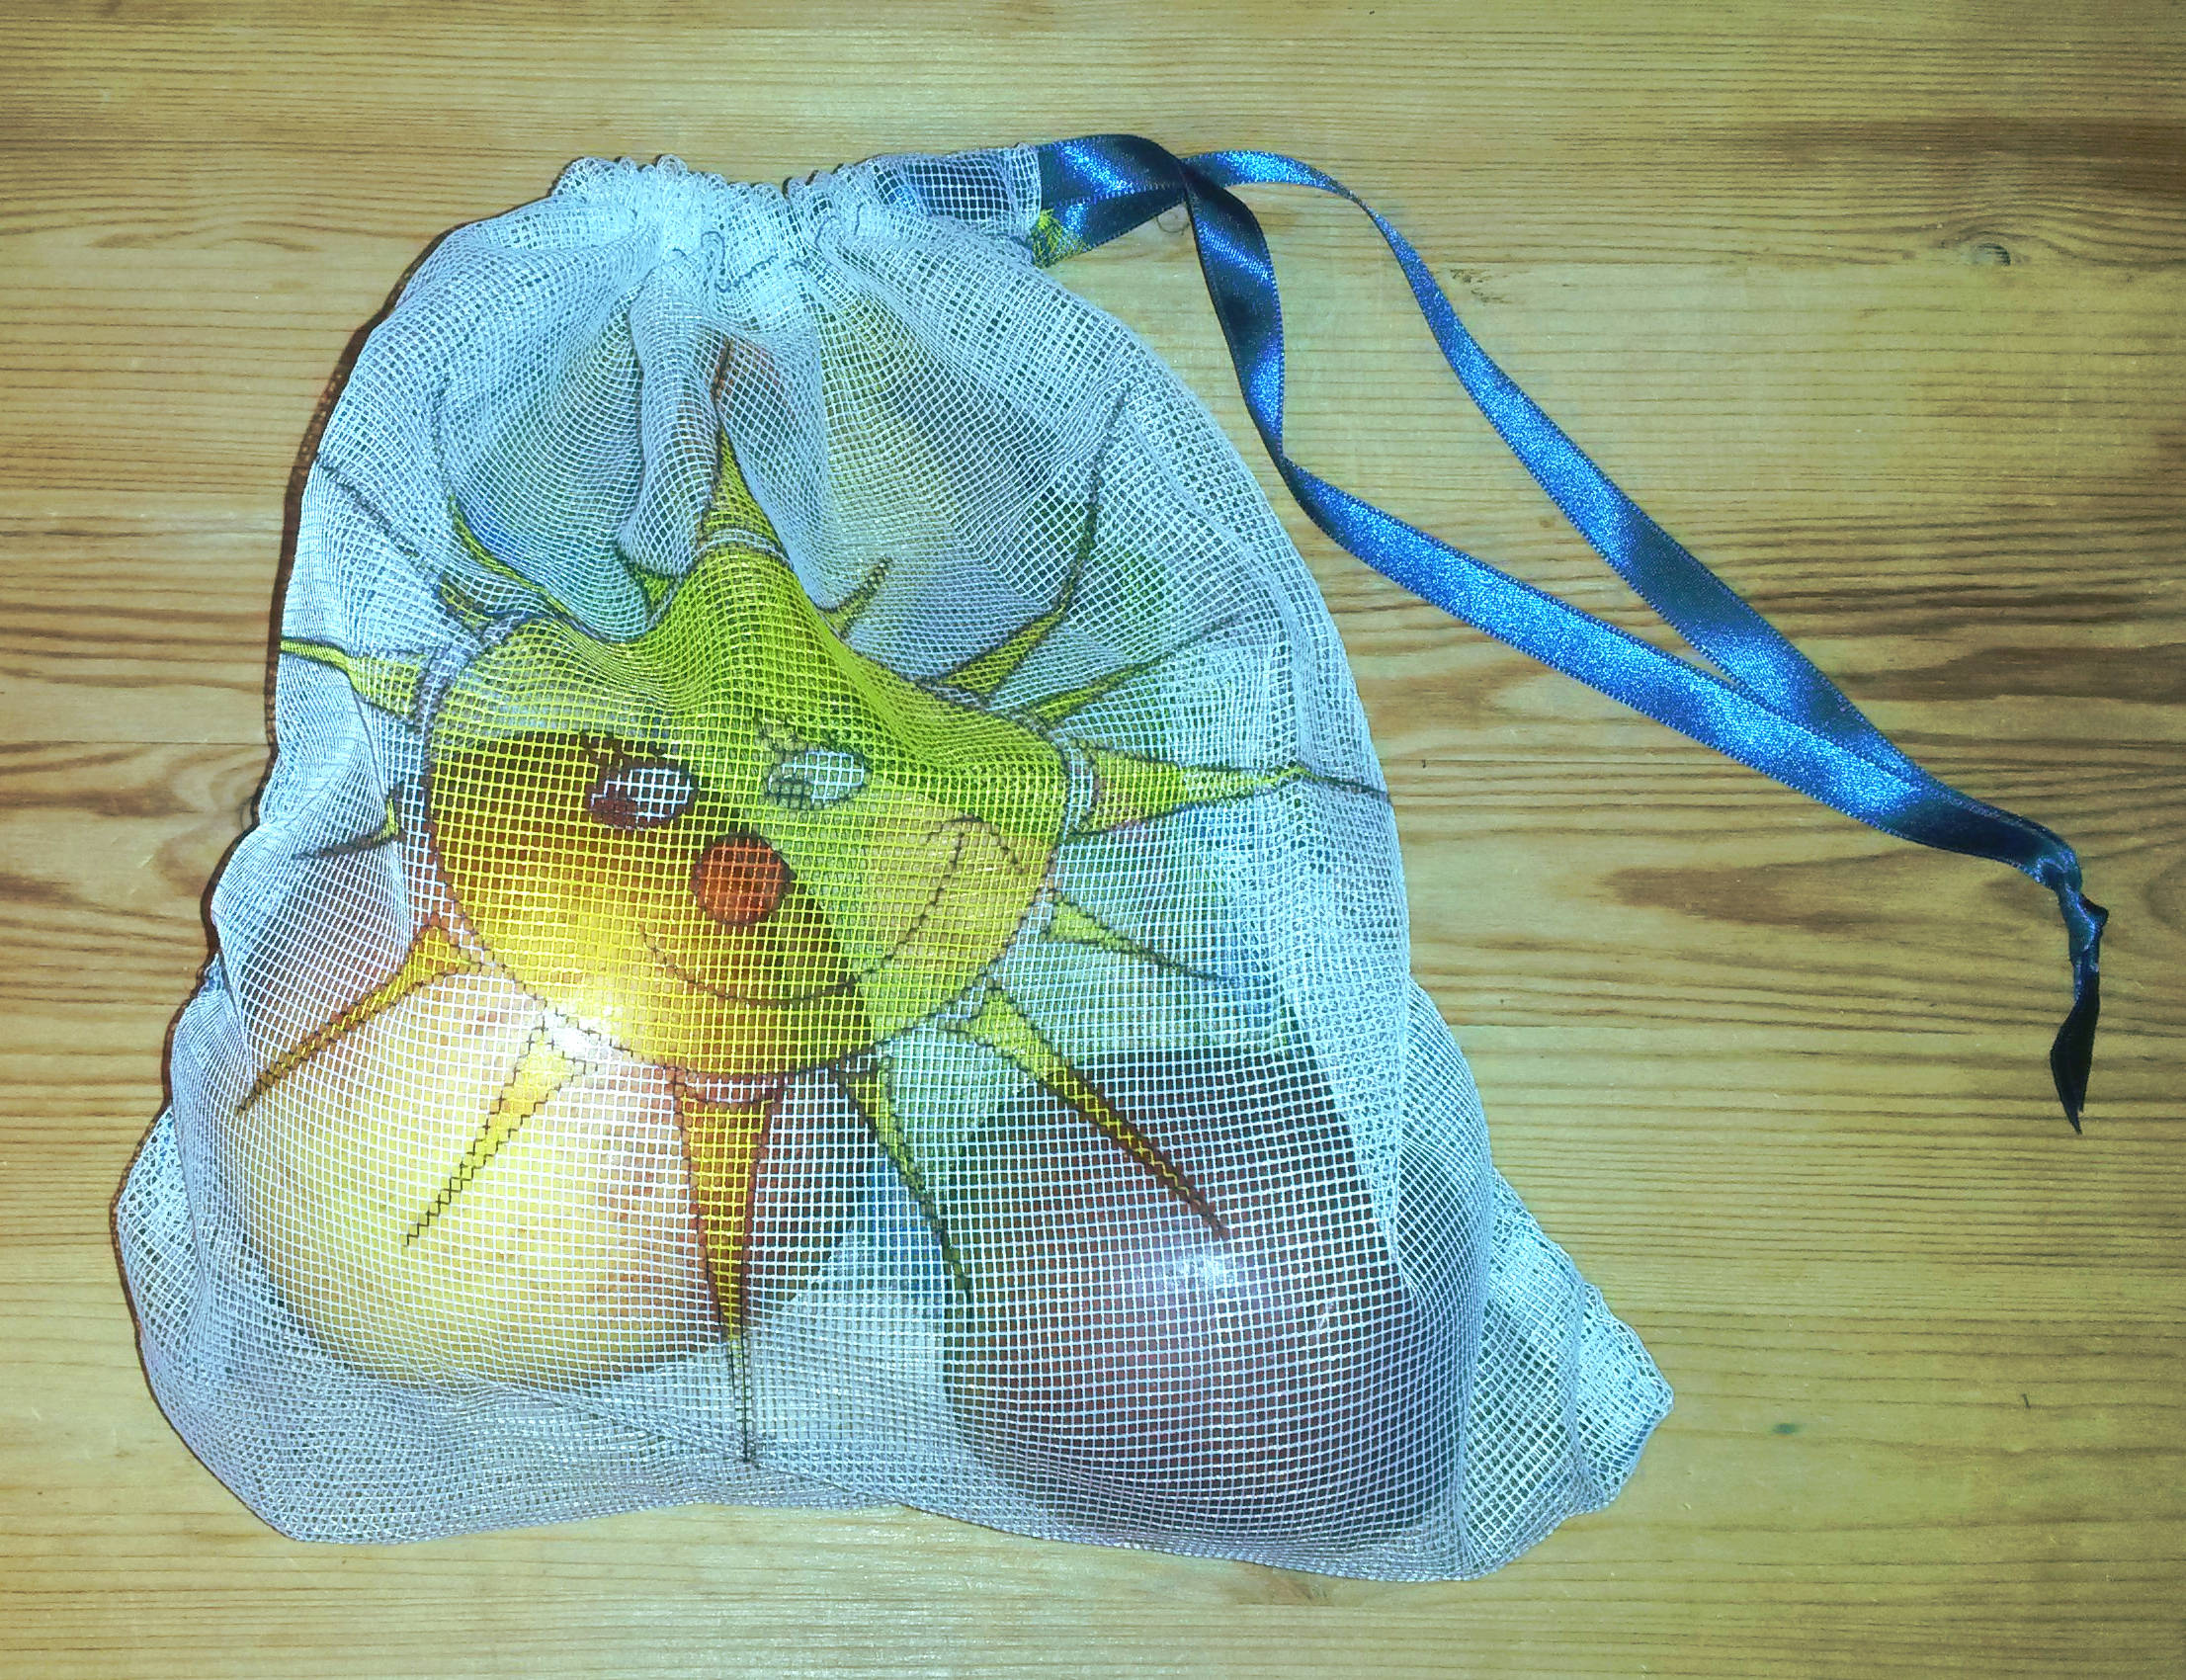
Old clothes or other fabrics (lightweight fabrics are ideal, such as old tulle curtains, then you can have them weighed with the contents when you go shopping)
Measuring tape and tailor's chalk (or felt-tip pen)
Cord
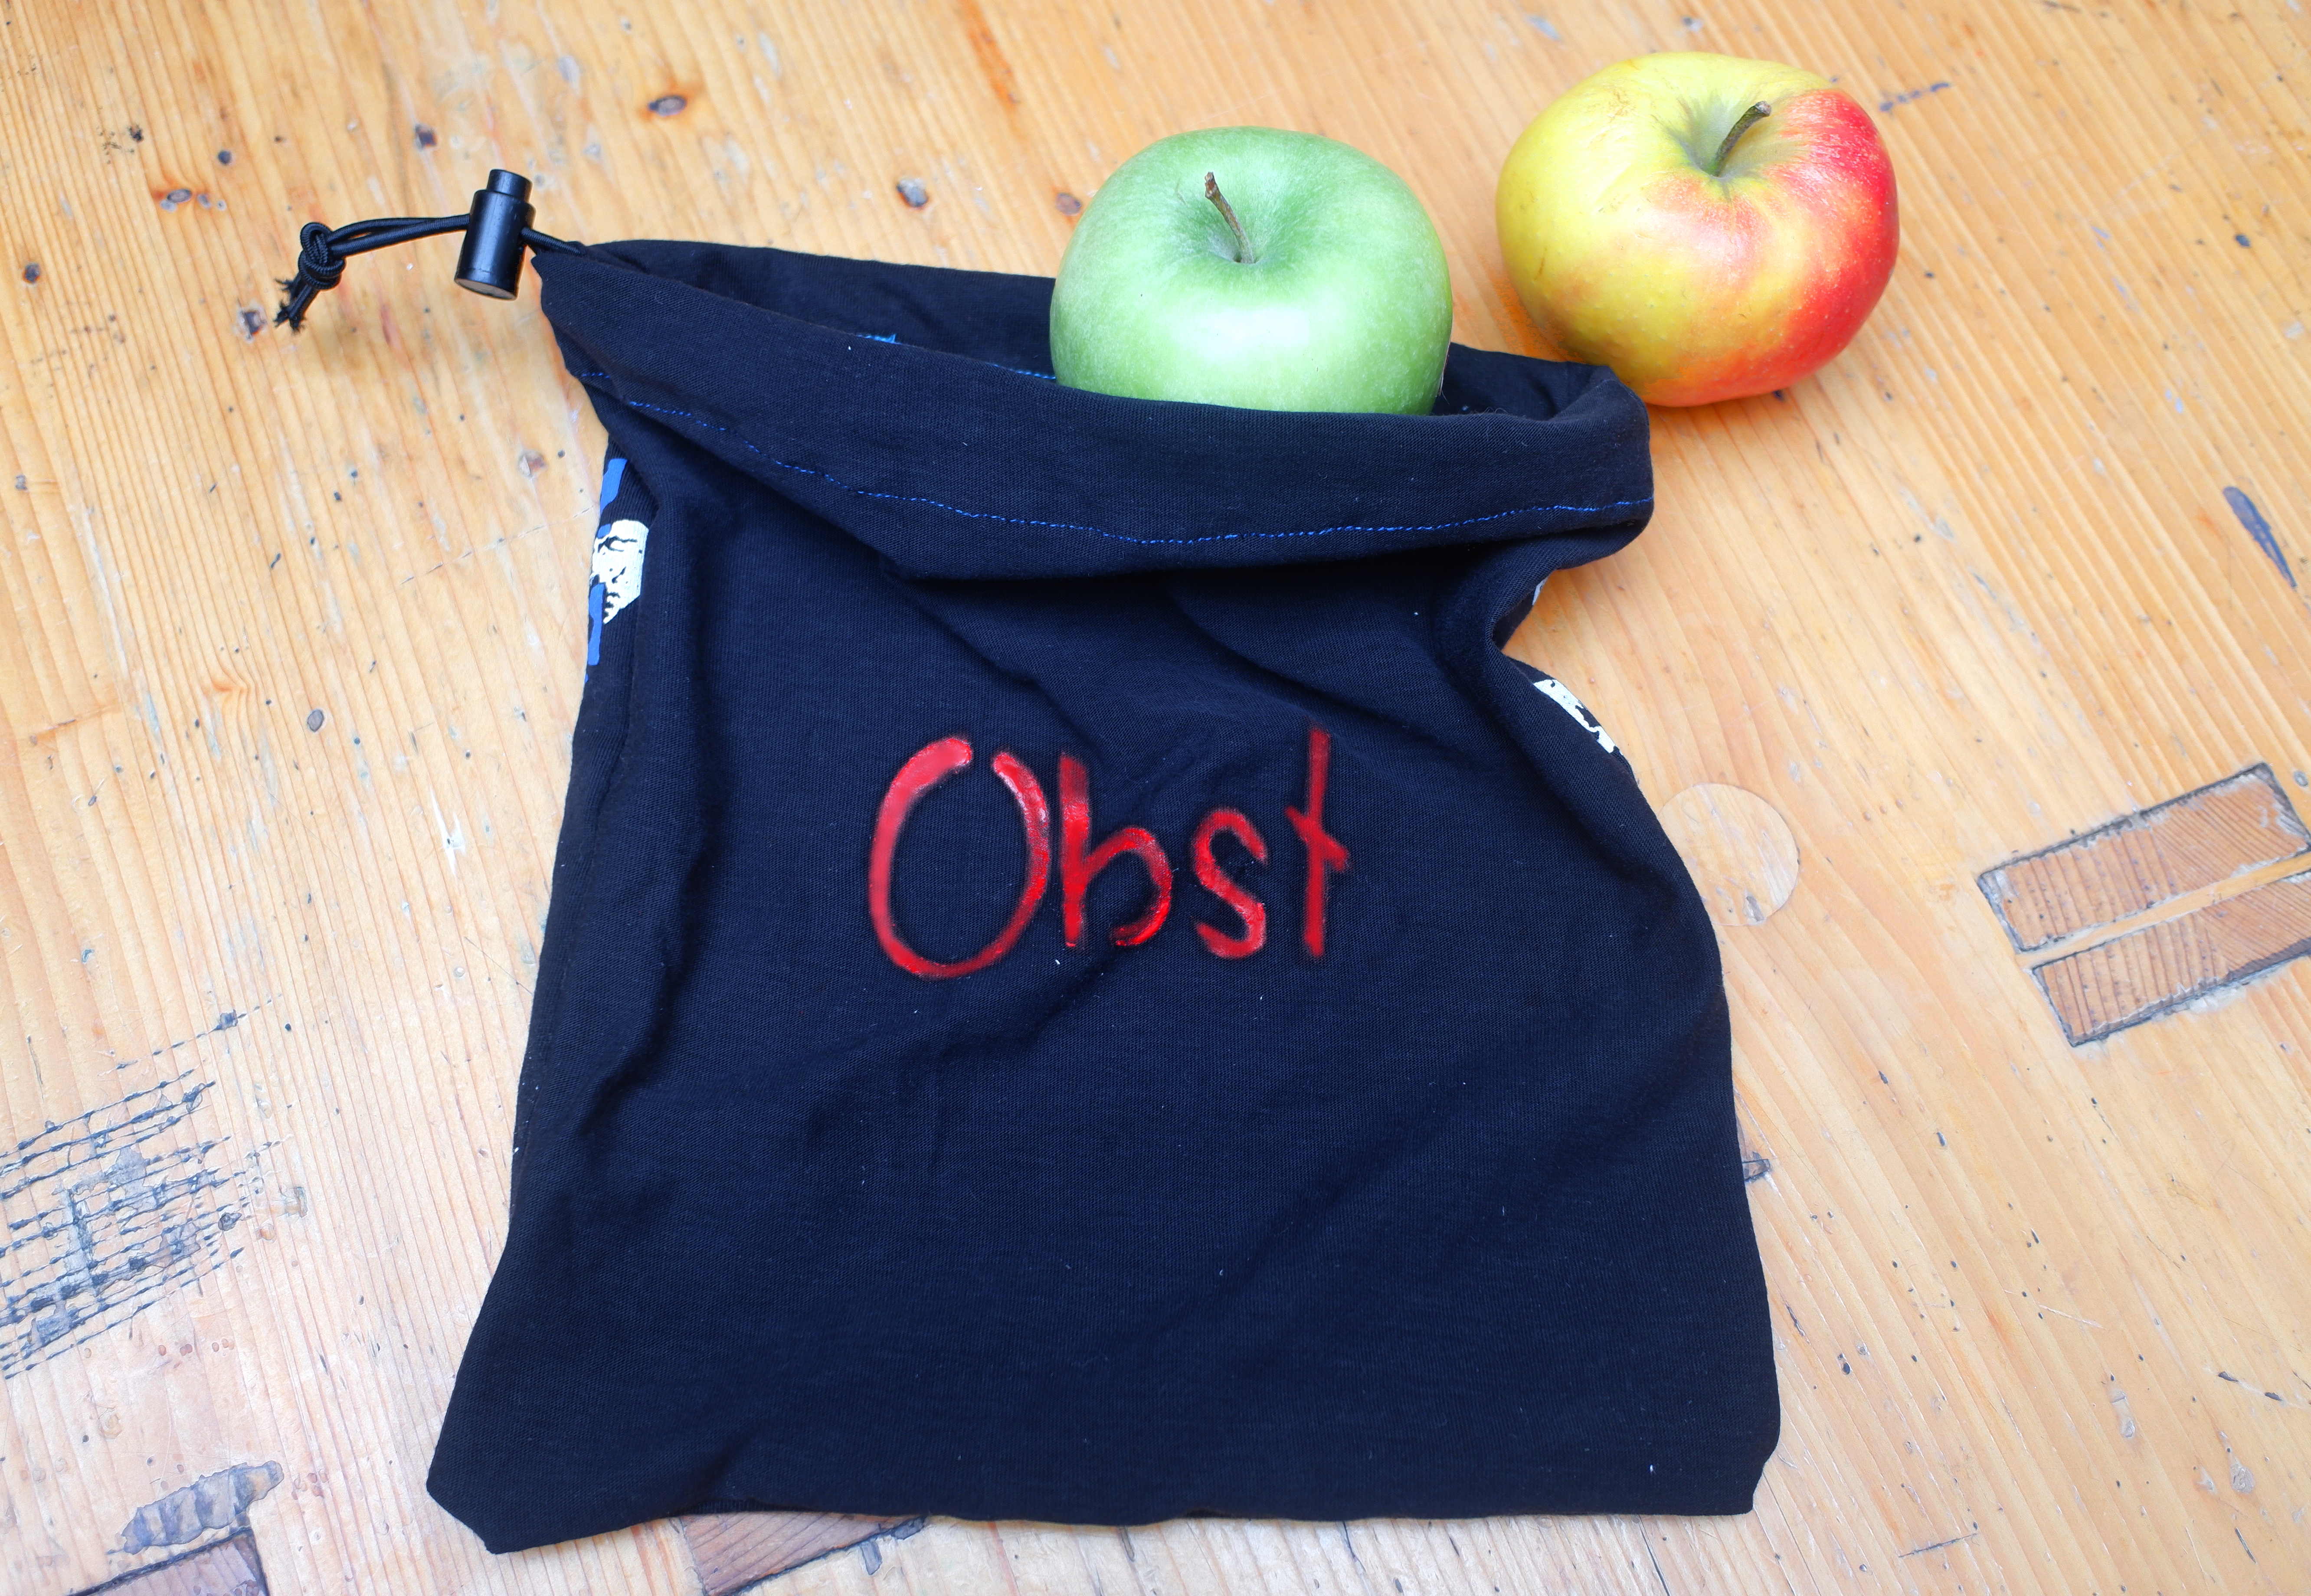
Cord stopper (optional)
Safety pin
Fabric scissors
Pins
Sewing machine and thread (or sewing needles, you can also sew by hand!)
Fabric paint (optional)
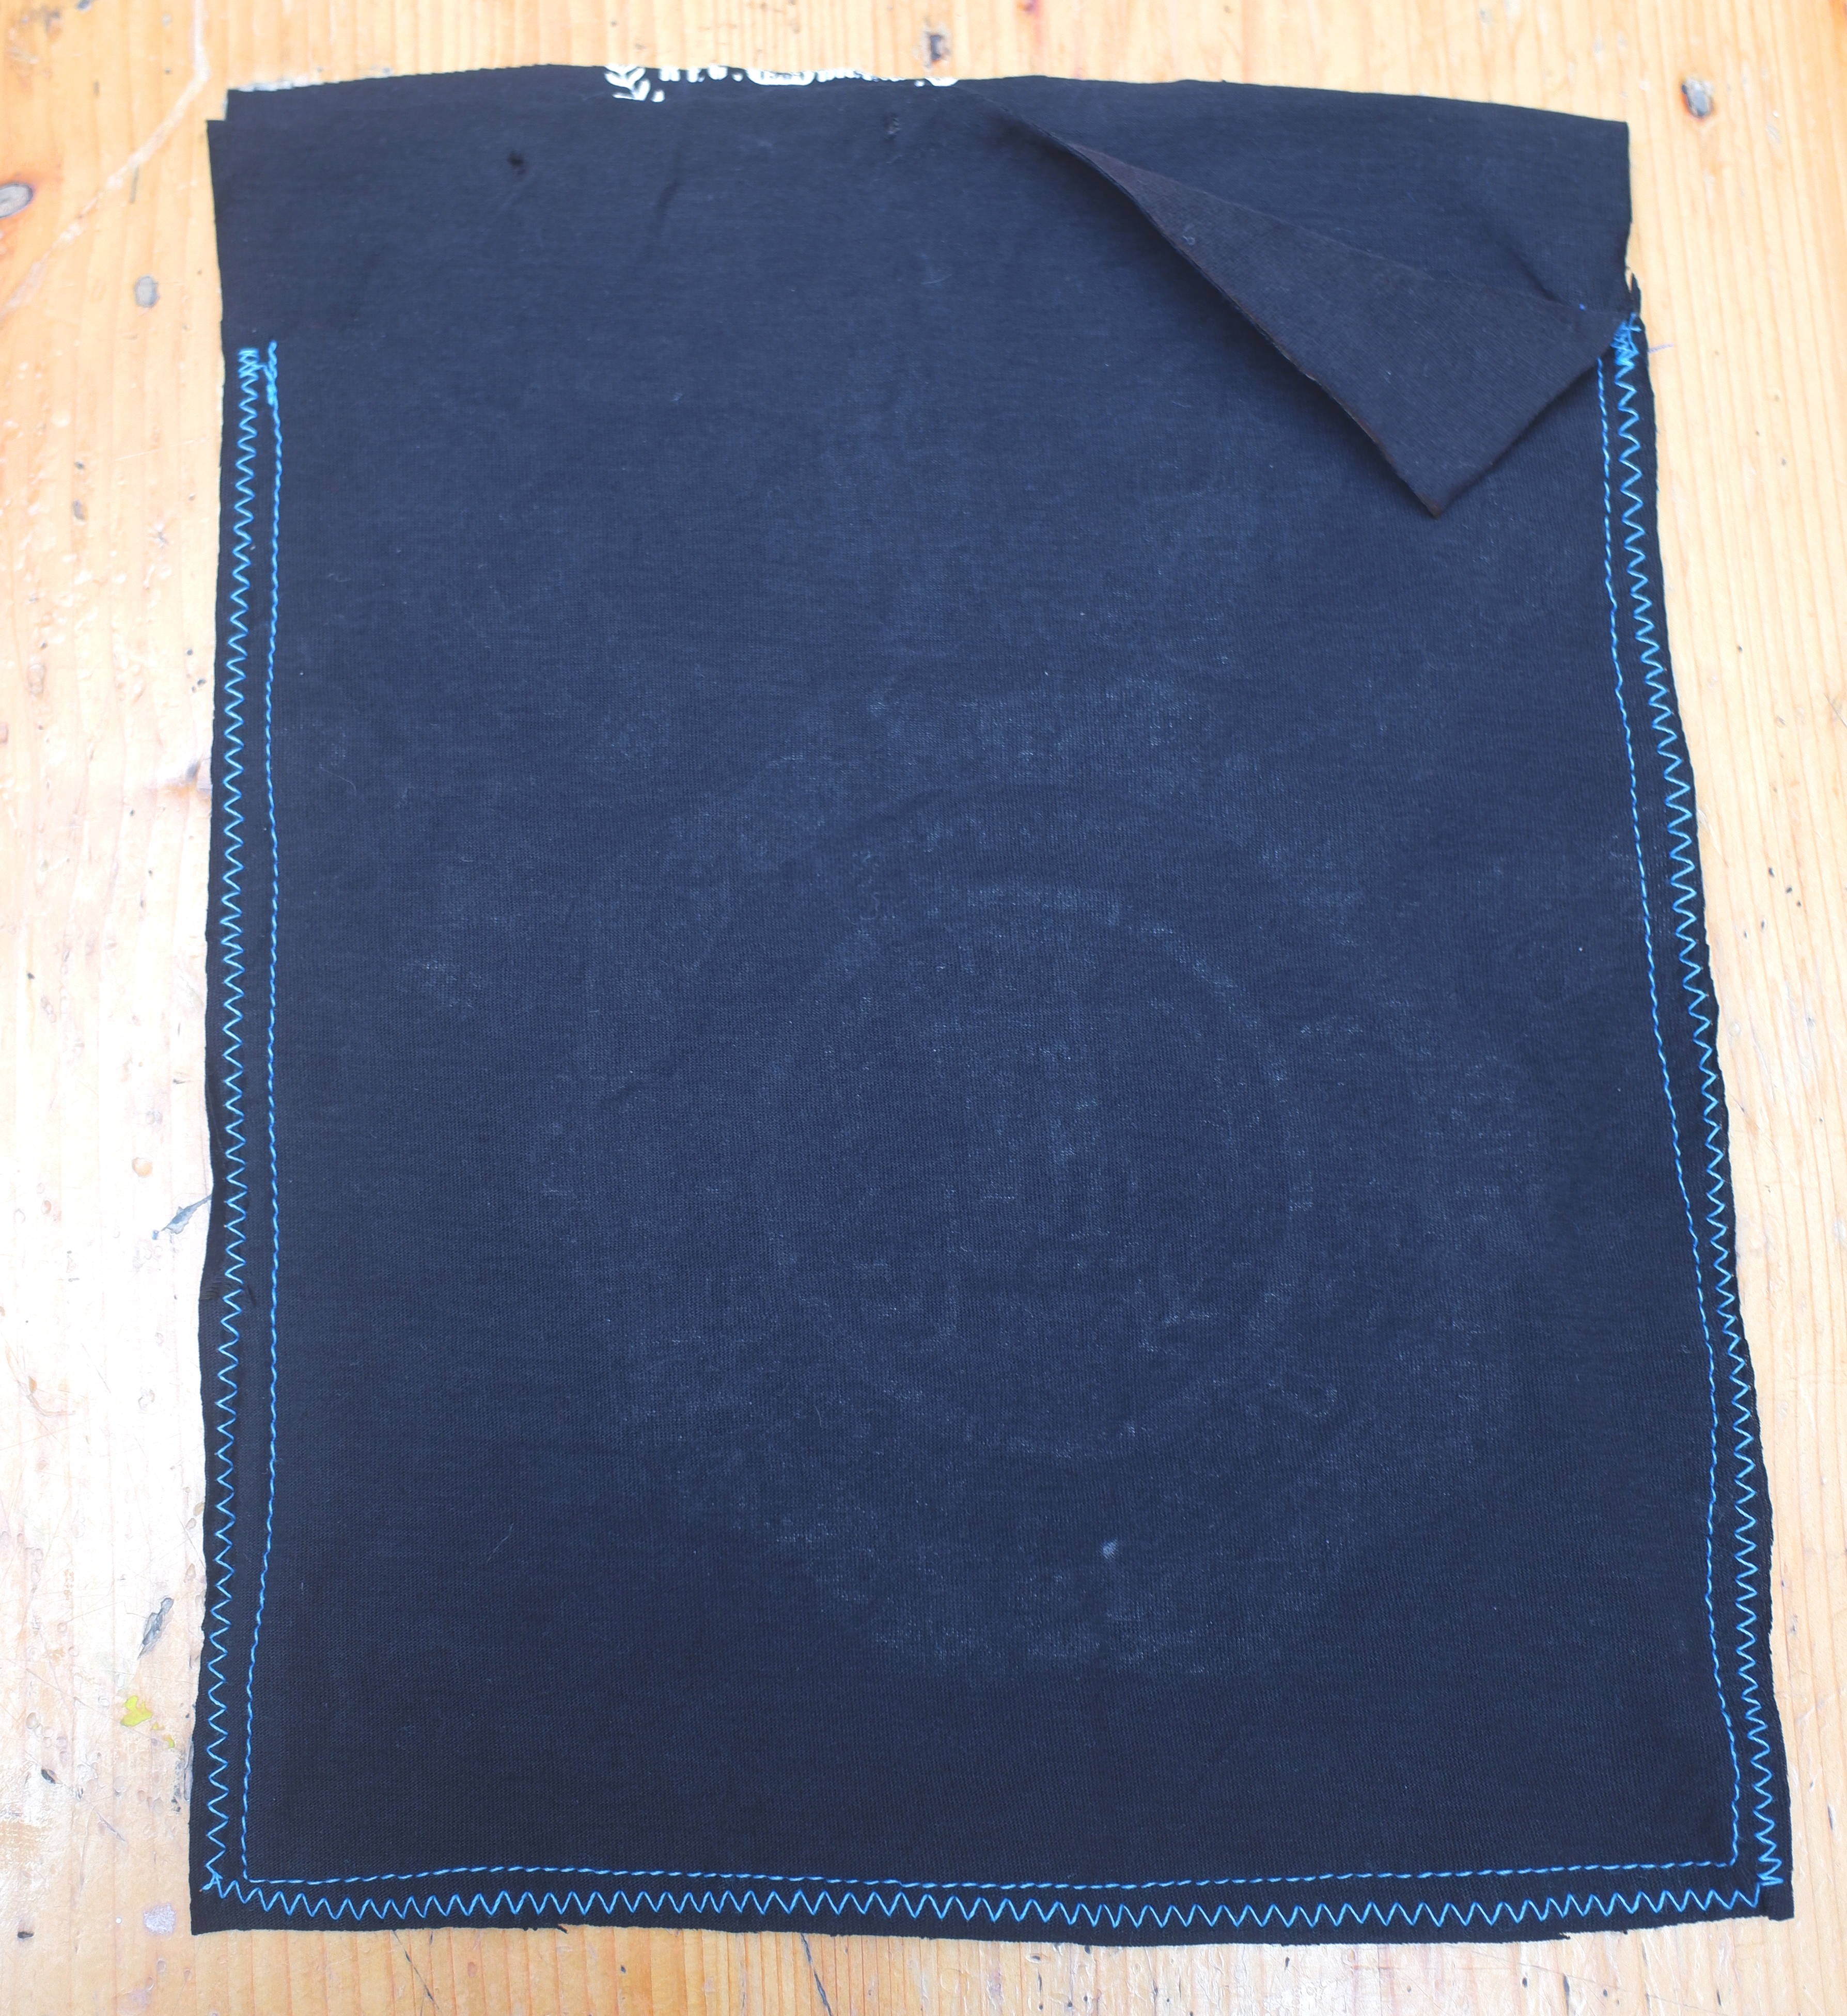
3 Cutting the fabric
Cut the fabric in two layers into the desired size. Leave about 1 cm seam allowance on all edges and an additional 4 cm allowance on the top edge for the drawstring.
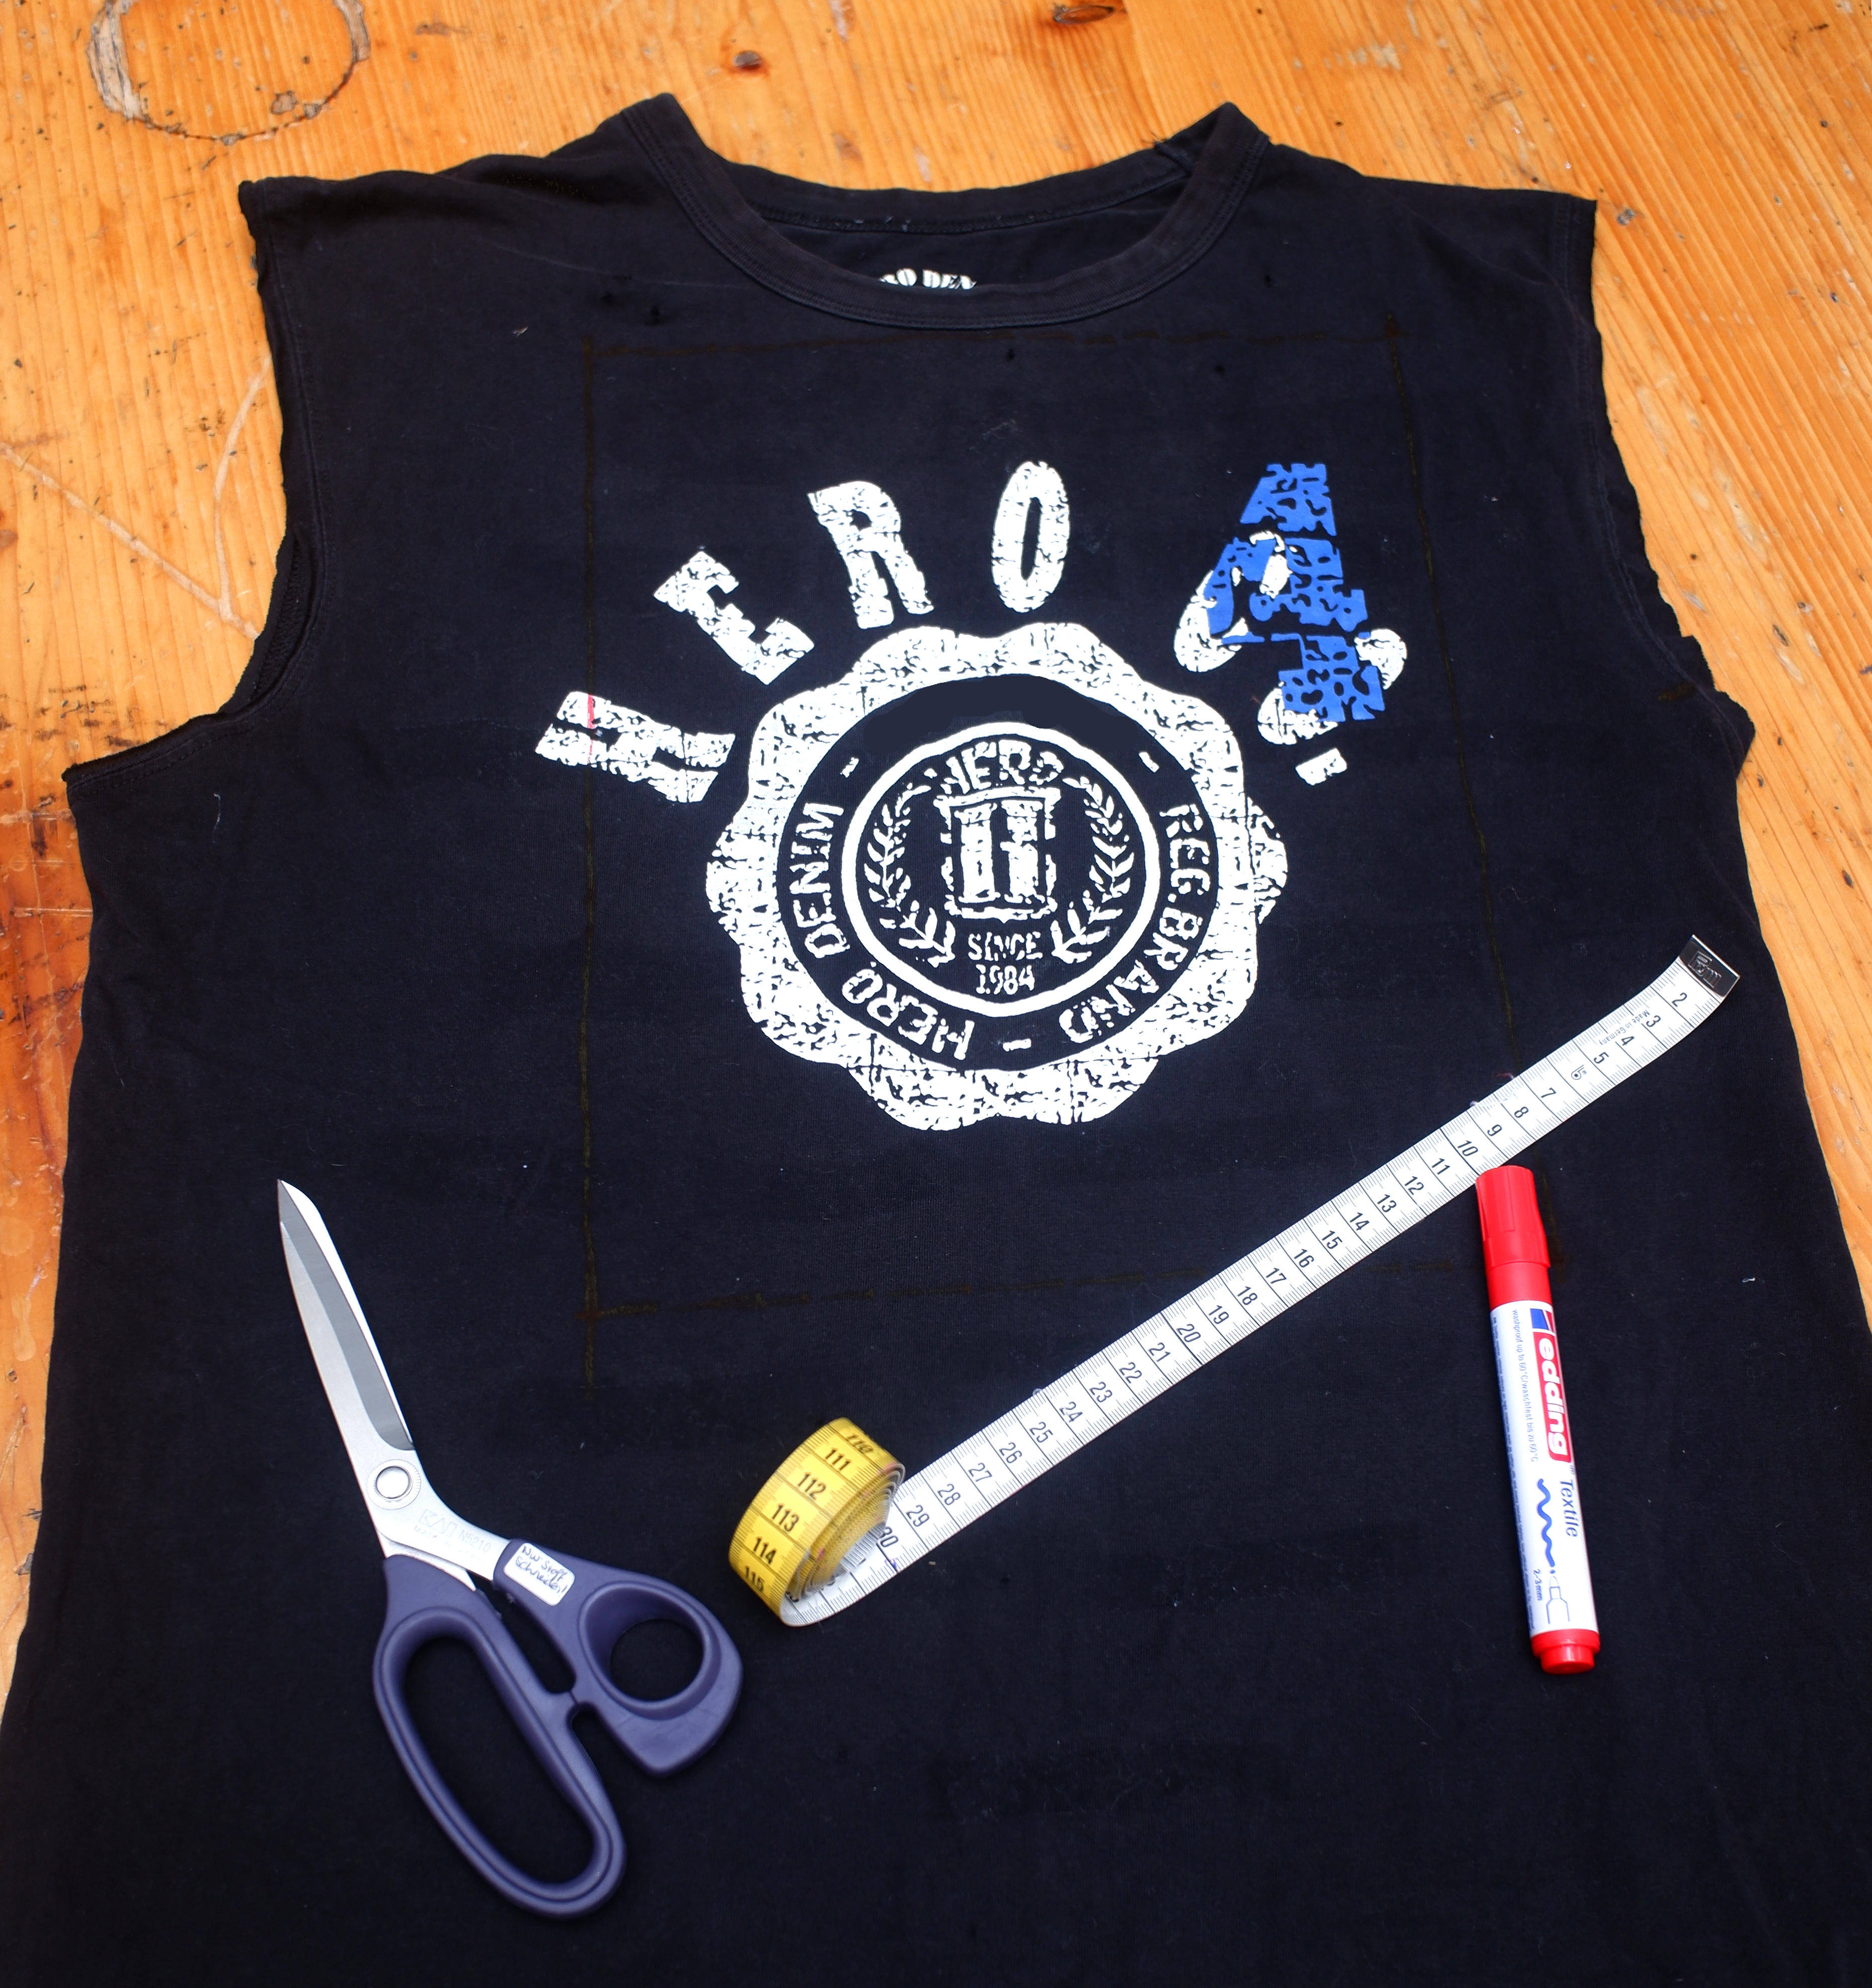
Suggested size:
Bread bag for half a loaf of bread: 32 cm x 25 cm (plus allowances).
Fruit bag for about four large pears: 25 cm x 20 cm (plus allowances)
4 Pin and sew
Place the two fabric layers right sides together (i.e. with the outer sides) and pin them together at the edge on 3 sides.
Leave about 4 cm open at the top edge. It's best to mark the beginning and end of the seam with a pin inserted crosswise.
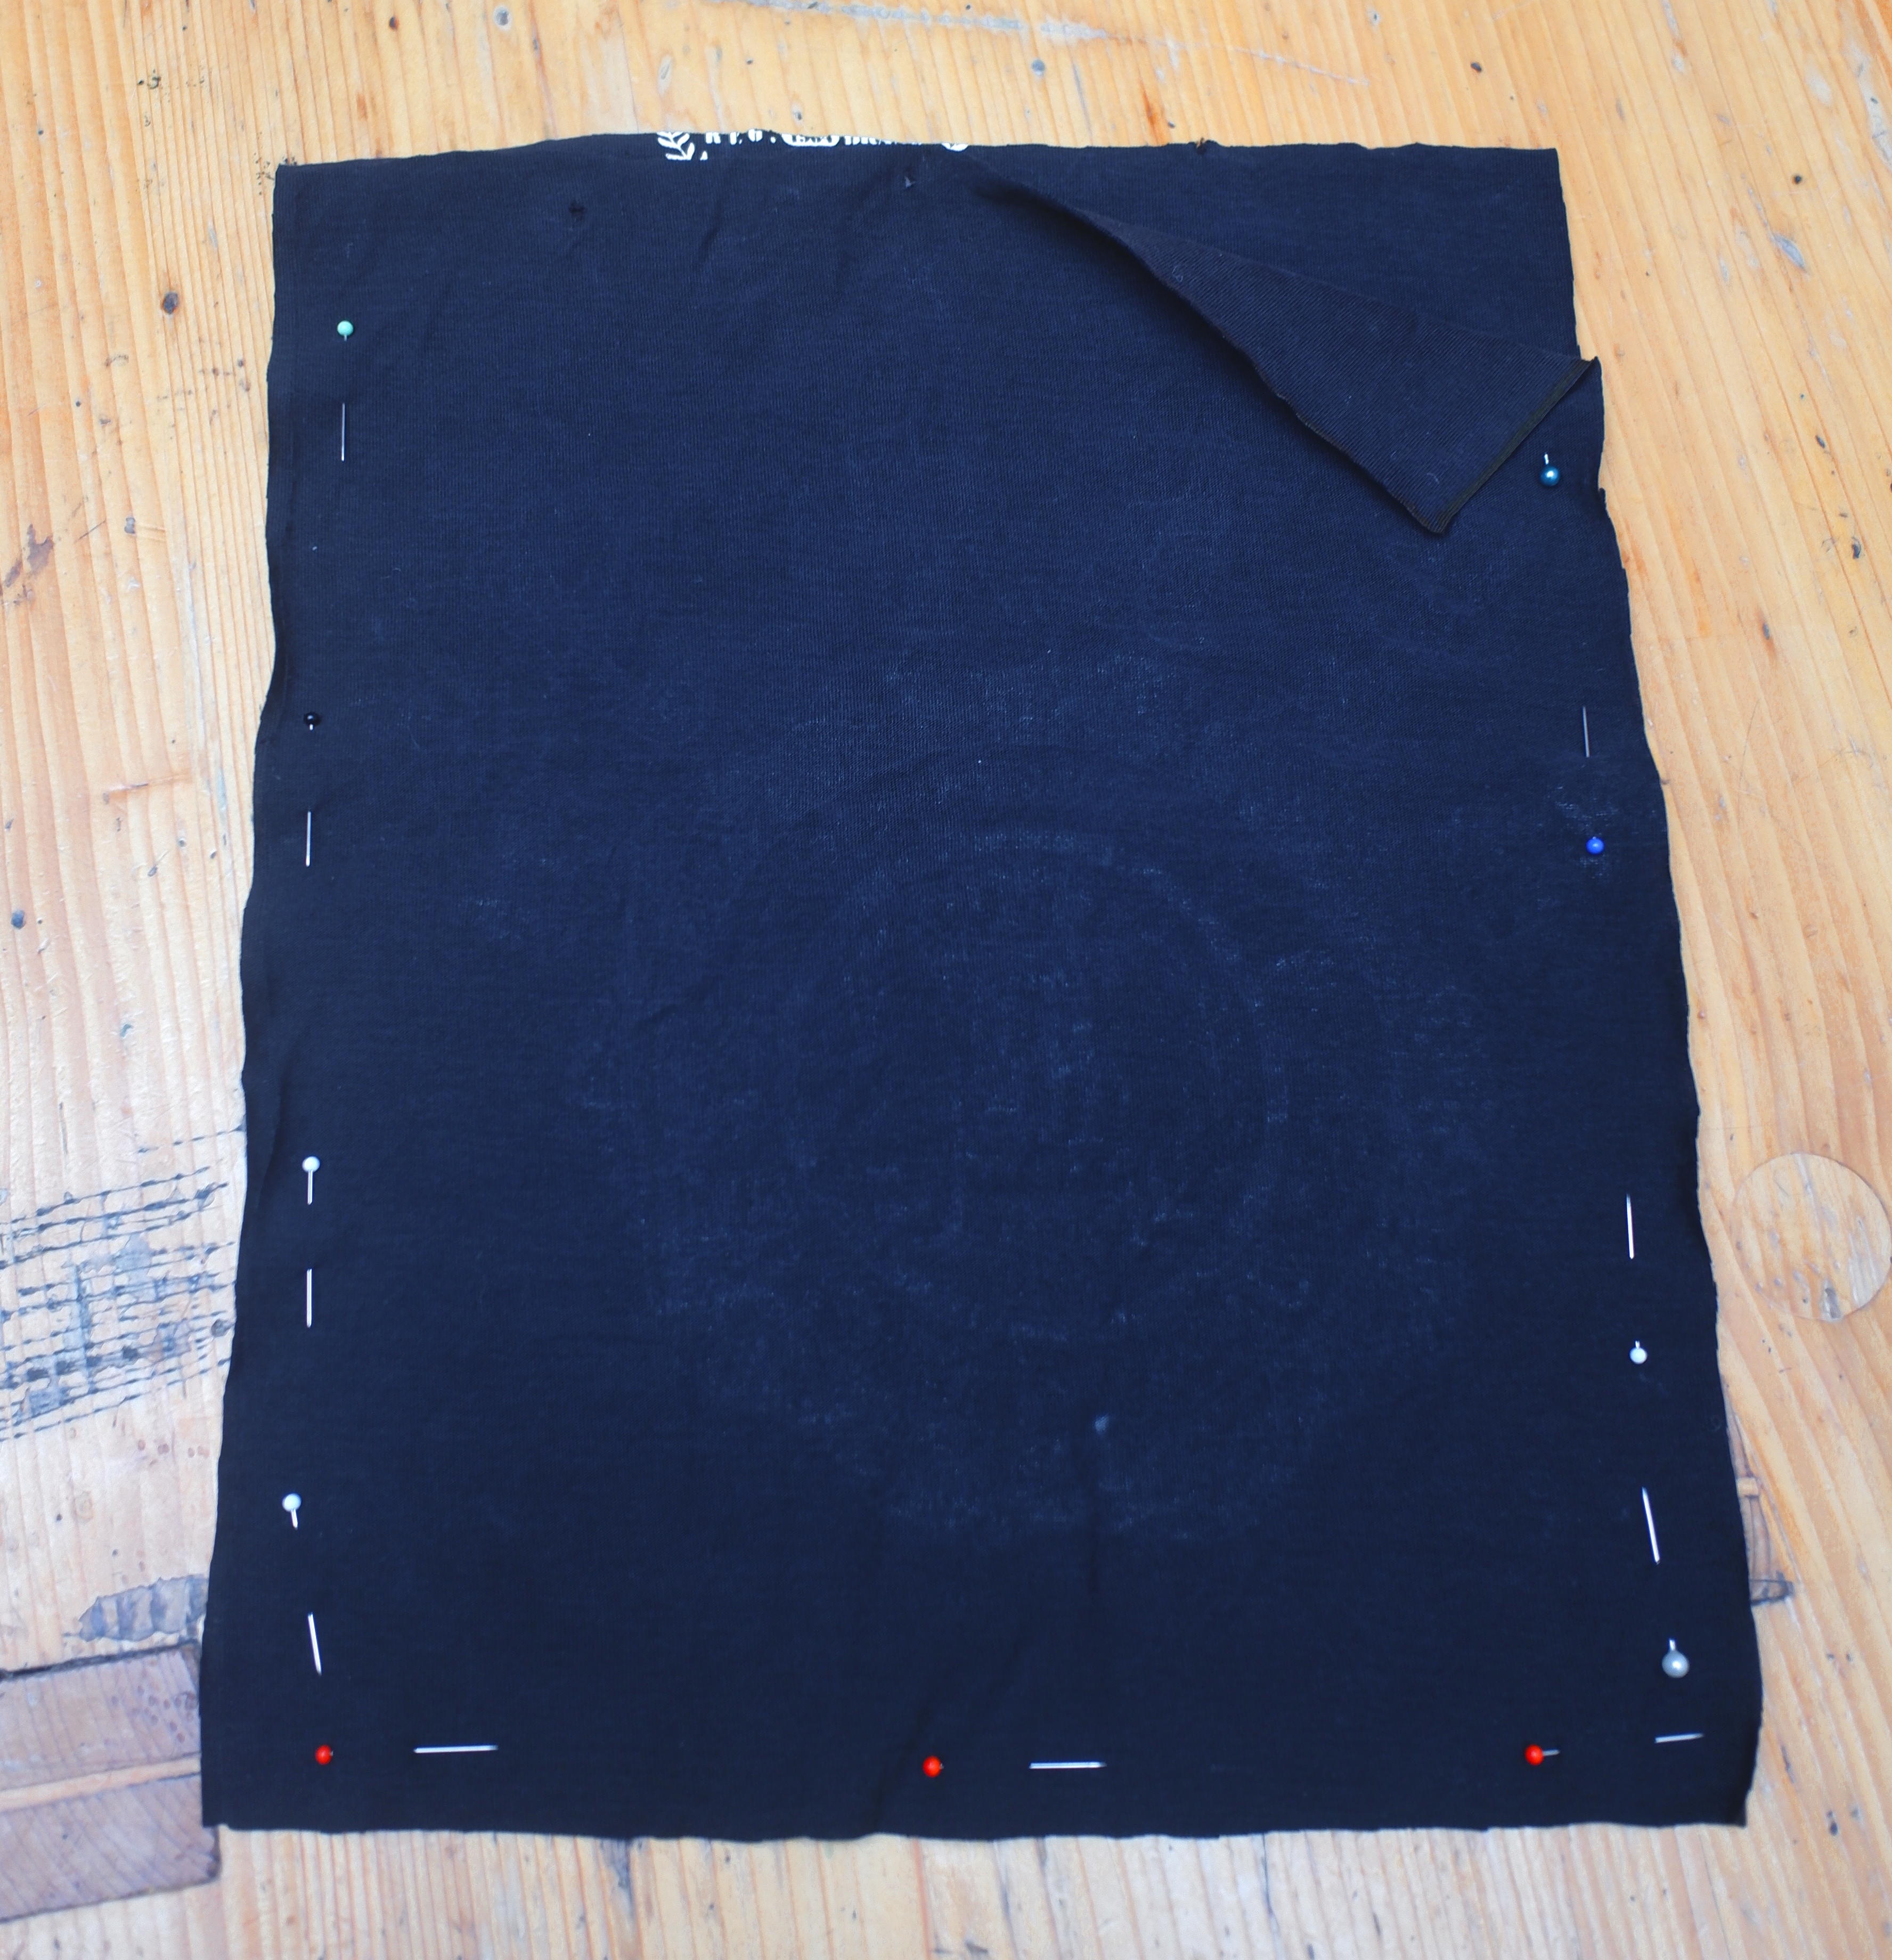
Now you can sew the bag together: To do this, first sew with a straight stitch about 1 cm from the edge.
Then you can sew a zigzag stitch on the seam allowance close to the edge. This prevents the edges from fraying.
If you're hand sewing, it's best to use a backstitch to sew them together, and you can optionally sew the edge with a buttonhole stitch.
5 Pin and sew the drawstring
Now add a drawstring to the upper, open edge. To do this, fold the top edge over twice, pin it all around and sew it just at the bottom edge.
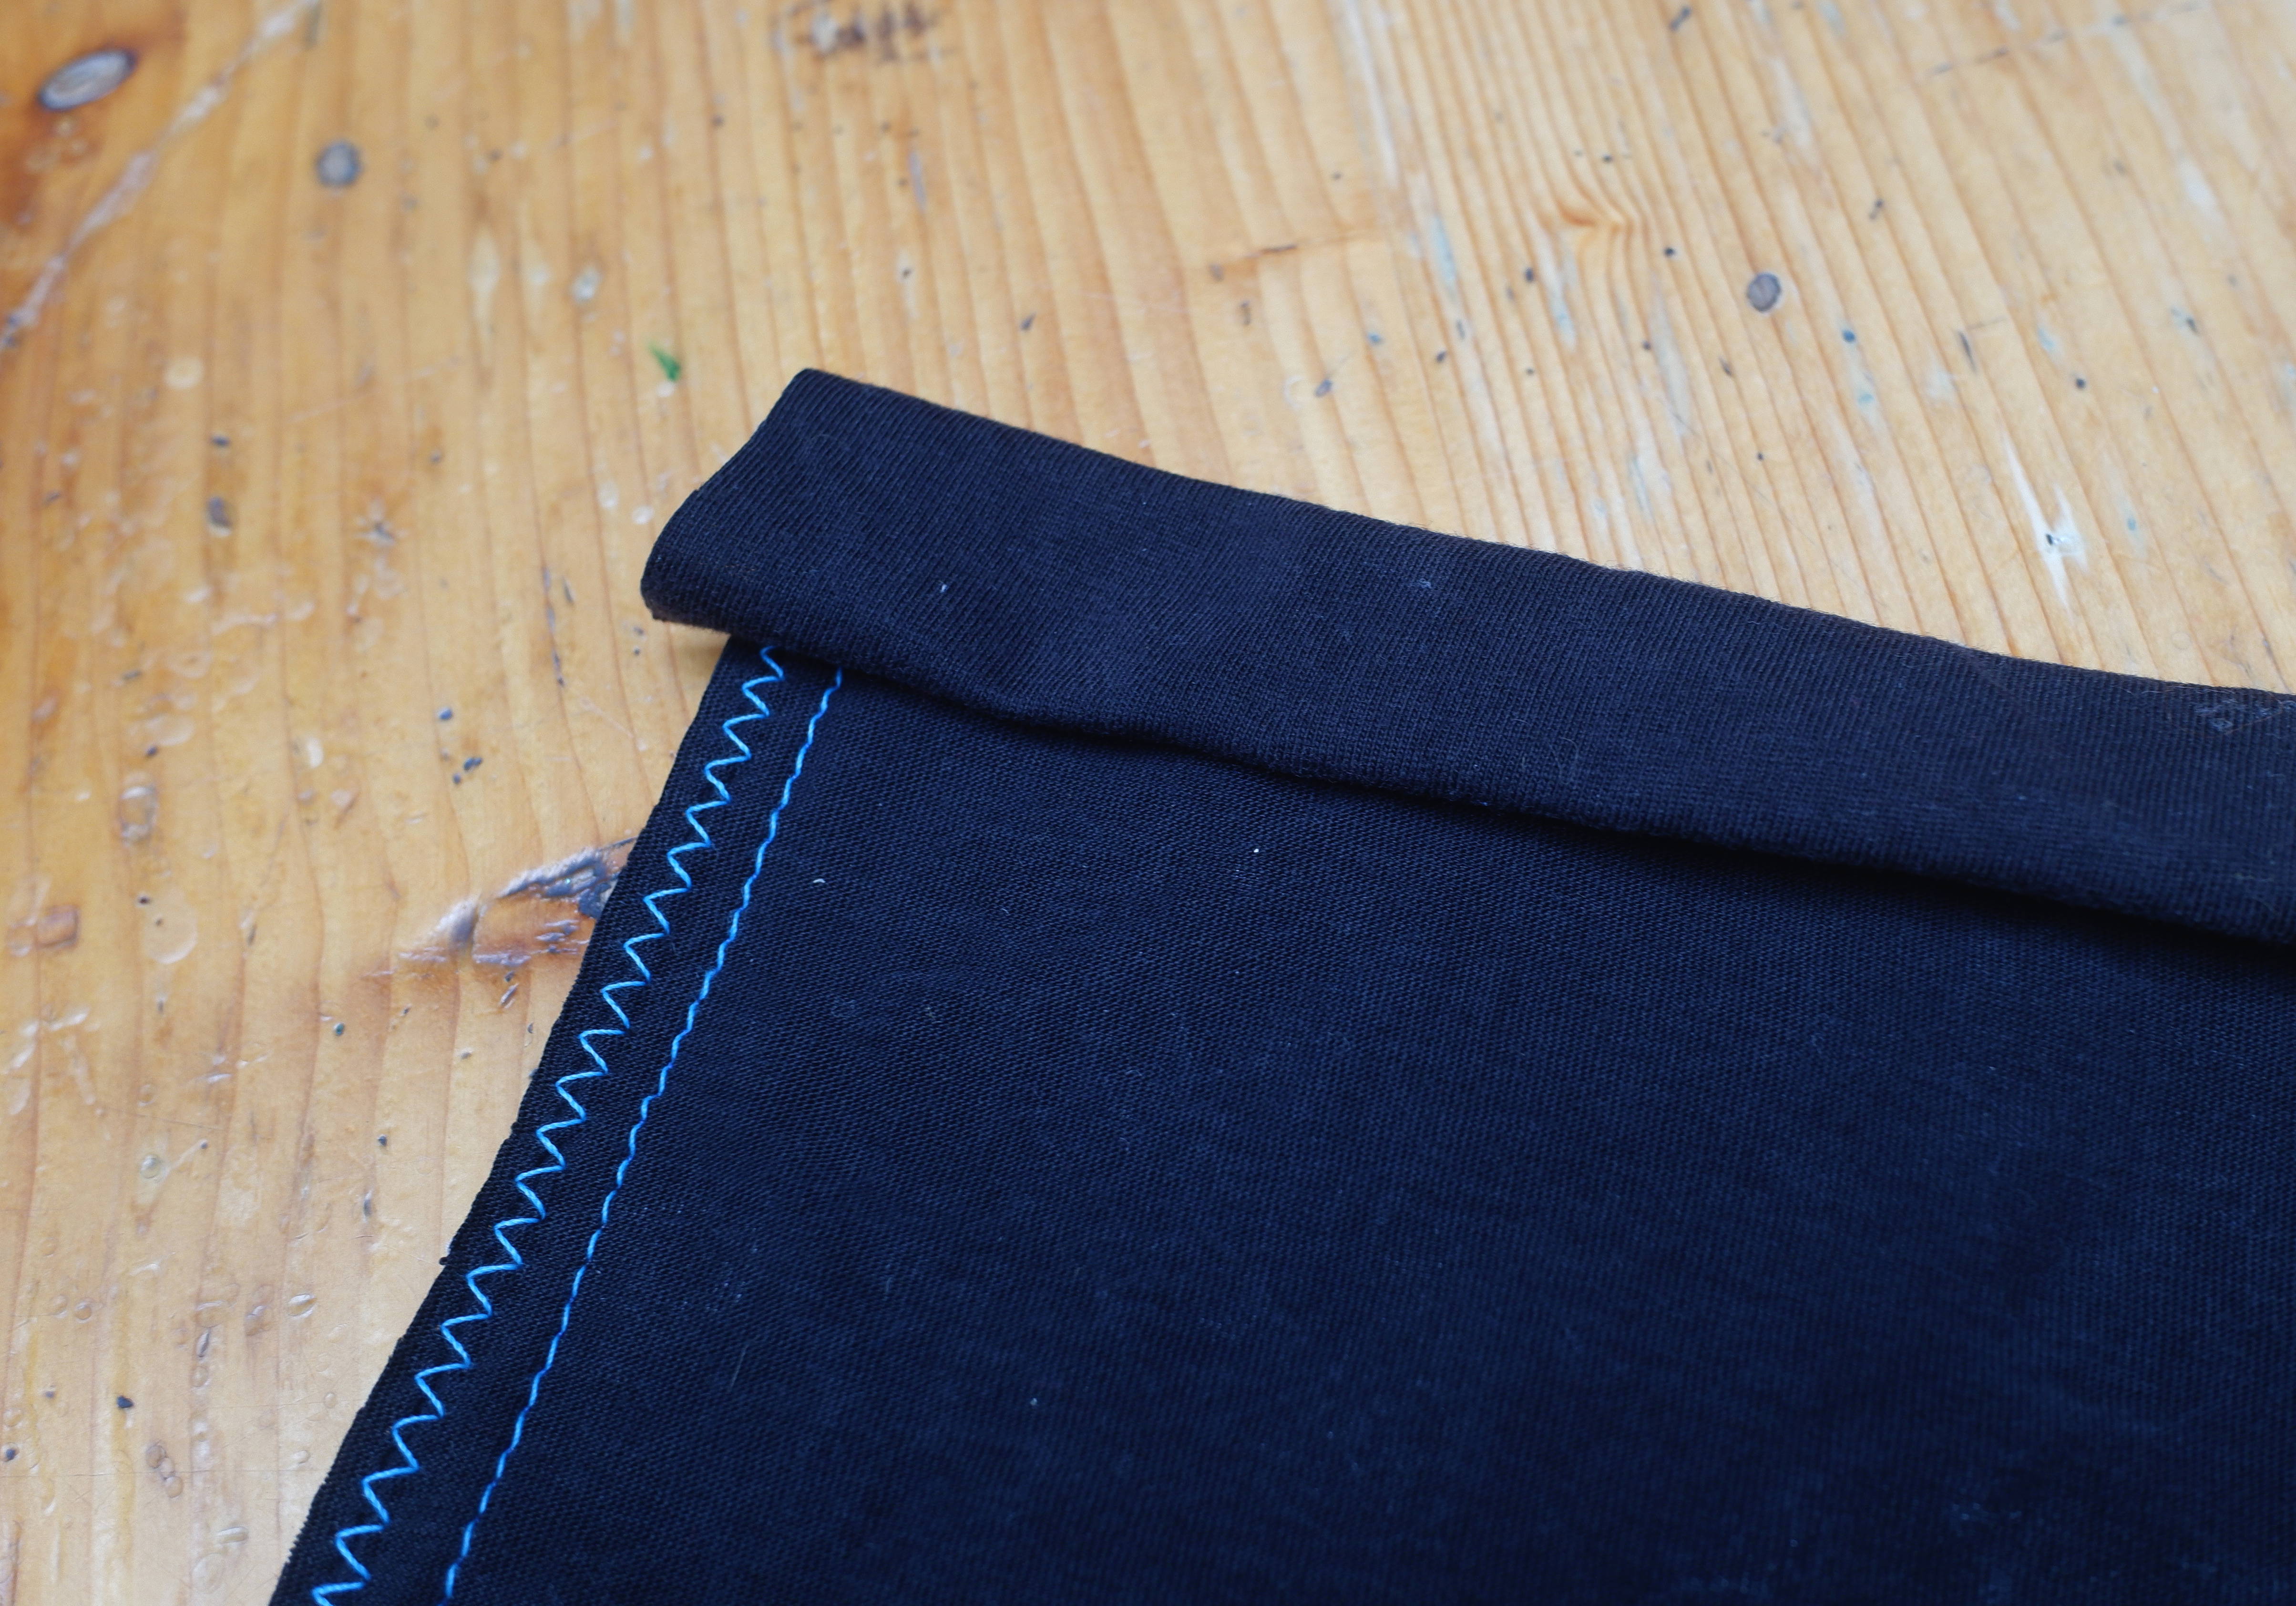
The tunnel should remain open at the sides. Here the cord comes through in the next step.

When sewing by hand, you can use the backstitch here again. Make sure that the back stitches are on the inside and the "prettier" side of the seam is on the outside.
6 Pulling in the cord
Now turn the bag right side out.
Cut the cord to three times the length of the top edge. Then pull in the cord:
To do this, pick up one end of the cord with a safety pin and push the safety pin into the tunnel. Keep pushing the needle through the fabric of the tunnel until it comes out the other end.
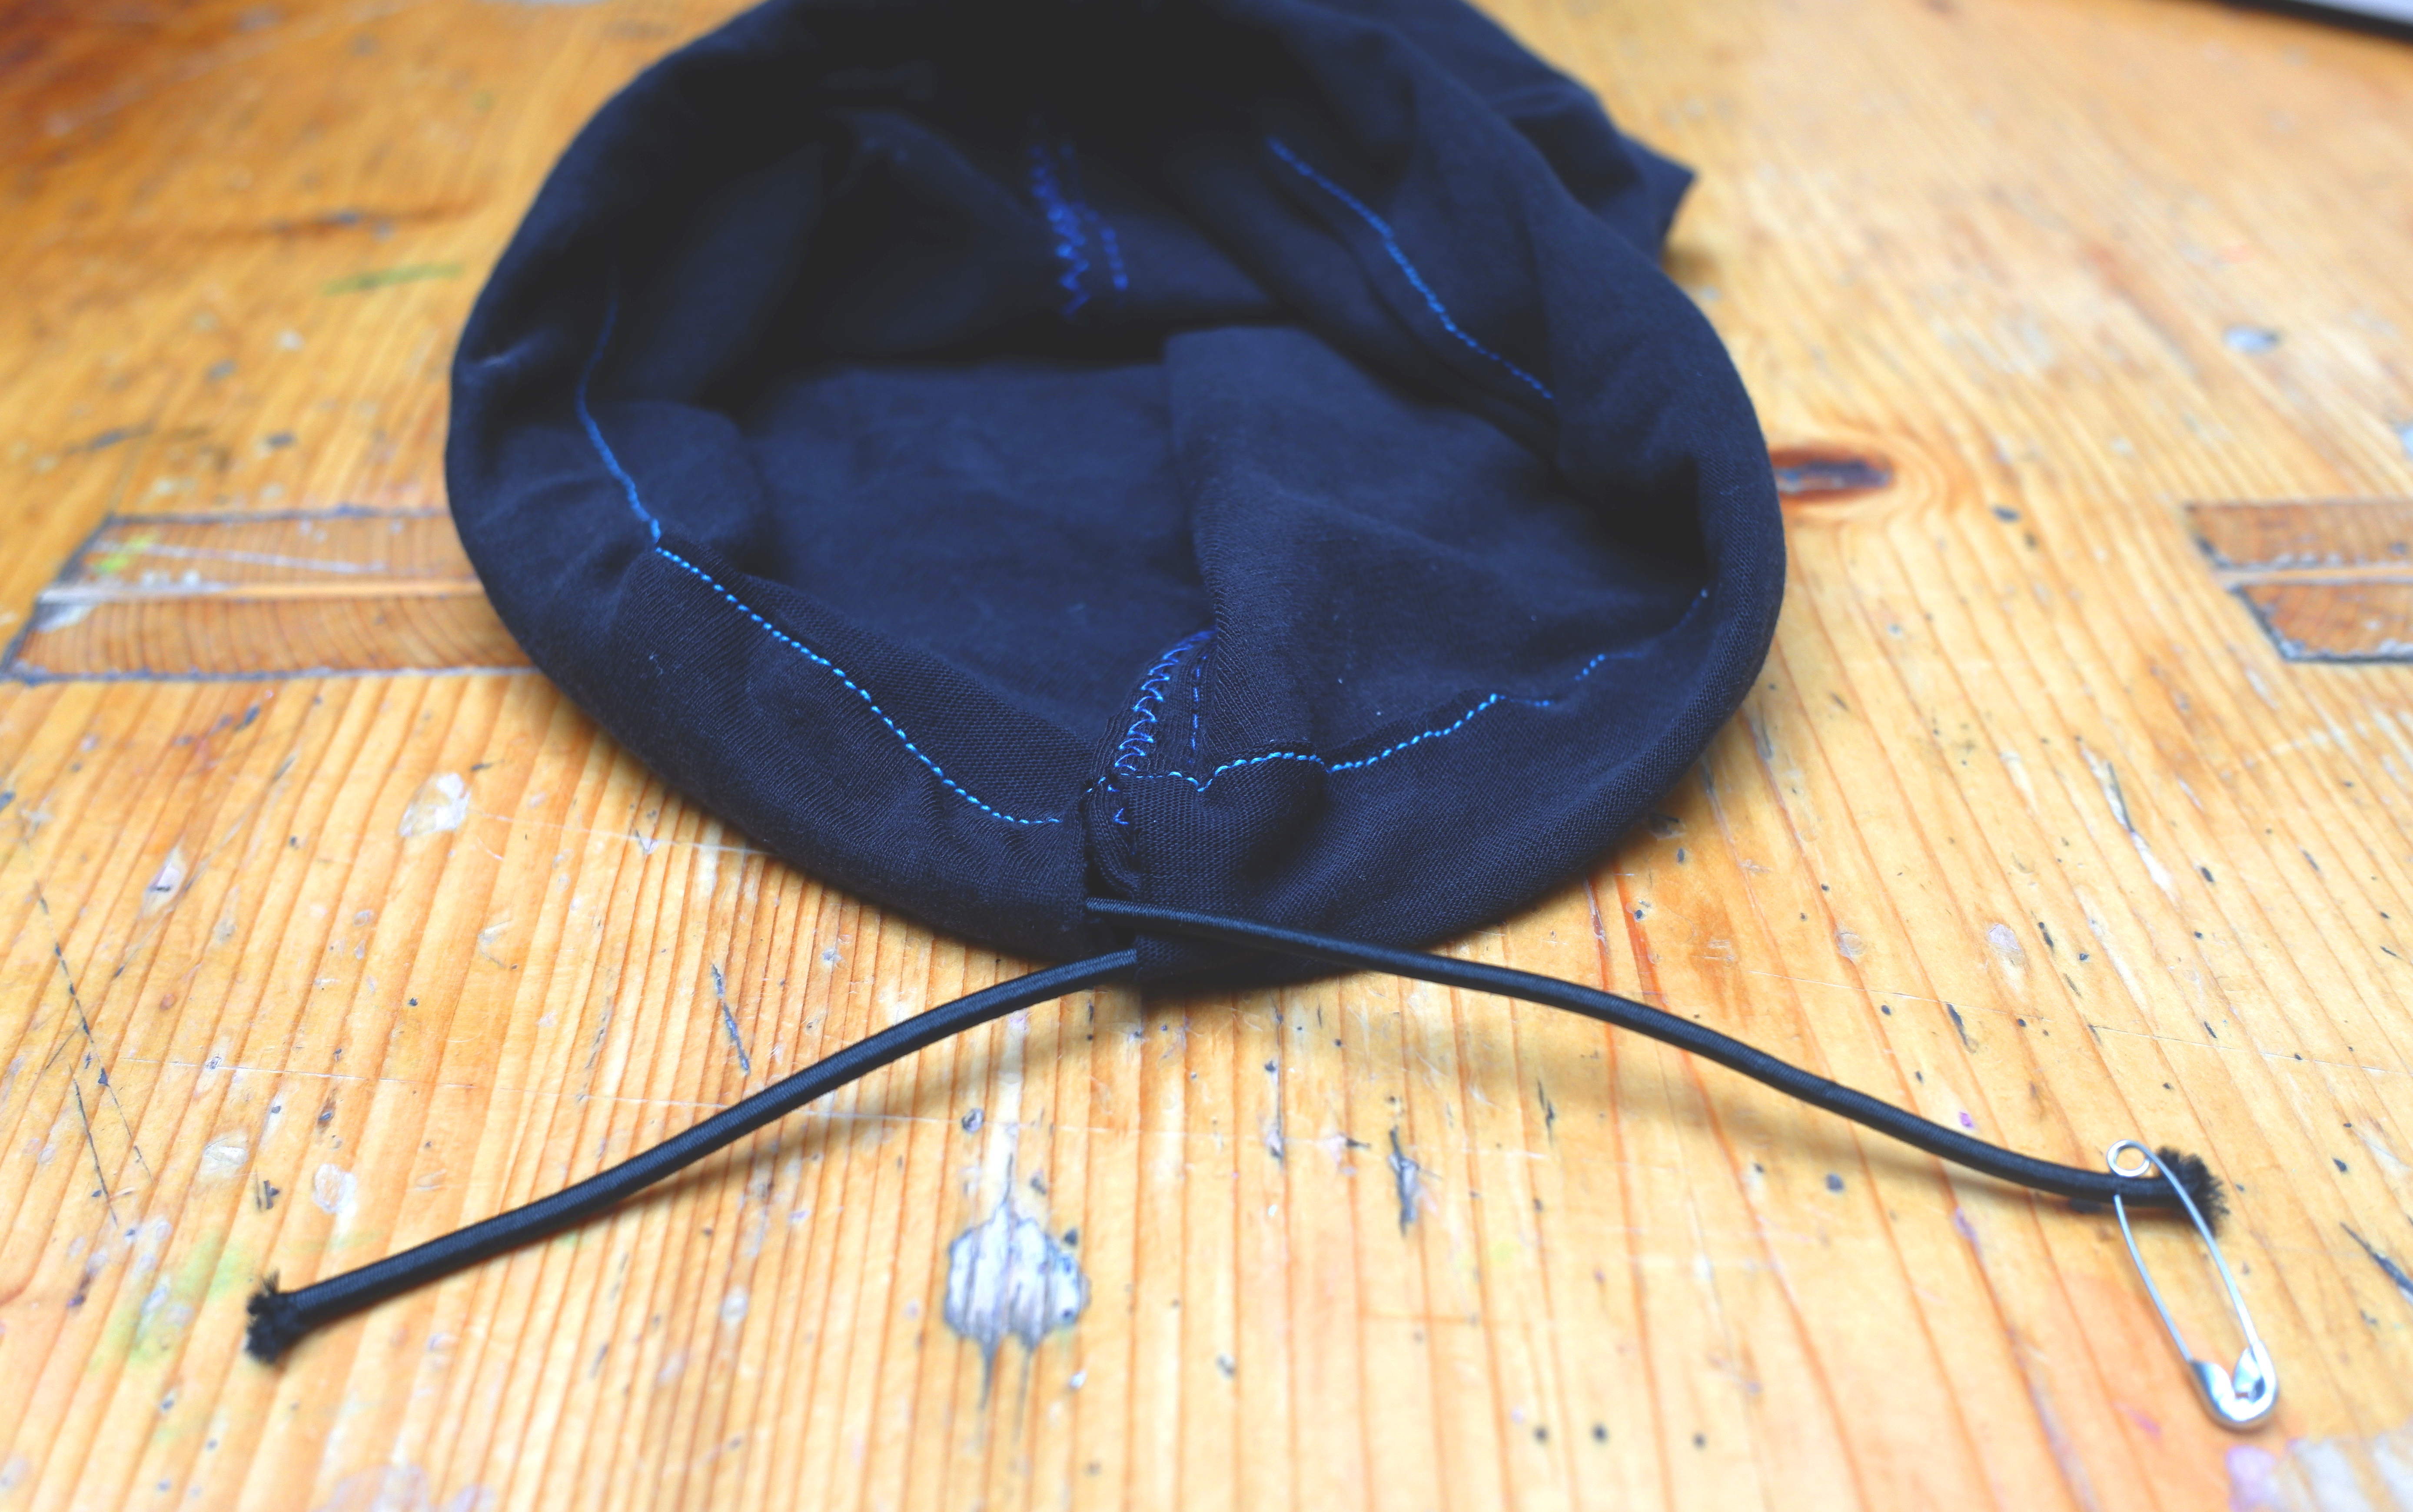
If desired, pull on a cord stopper and knot the cord.
7 Decorate the bag
Depending on its purpose, the bag can now be decorated and labeled.
For this purpose, there are special fabric paints (for brushing or as markers), which are fixed by ironing after application. Then the bag is also washable.
Done - have fun with sustainable shopping!
Here you can see a version made of light tulle fabric: